Easy Homemade Chex Mix: Your Guide to the Ultimate Savory Snack
There are few snacks as universally adored as Chex Mix. That irresistible combination of crunchy cereals, savory seasonings, and delightful mix-ins creates a symphony of textures and flavors that keeps you reaching for more. While the store-bought version has its charms, nothing quite compares to the warmth, aroma, and customizable perfection of homemade Chex Mix. It’s more than just a snack; it's a nostalgic treat that brings joy to family game nights, makes road trips infinitely better, and elevates any gathering. The best part? Making it from scratch is surprisingly simple, and with both oven and microwave methods, you can whip up a batch anytime the craving strikes.
Why Homemade Chex Mix Reigns Supreme
Long before it graced supermarket shelves in convenient bags, Chex Mix began its journey as a humble recipe on the back of cereal boxes in the early 1950s. This origin story speaks to the inherent simplicity and home-spun charm of this beloved snack. And while the commercial versions have evolved, they can't quite capture the magic of a fresh, homemade batch. Here's why making your own homemade Chex Mix is a game-changer:
- Unmatched Freshness and Flavor: Store-bought mixes, while tasty, often lack the vibrant punch of freshly prepared seasonings. When you make it yourself, the butter is richer, the spices are more aromatic, and every piece boasts a perfectly toasted, buttery coating.
- Customization is King: This is perhaps the biggest advantage. Love extra pretzels? Want to swap out one type of nut for another? Craving a spicy kick? With homemade Chex Mix, you are the master of your snack universe. You control the ingredients, ensuring every bite is exactly to your liking.
- Aroma and Atmosphere: Baking Chex Mix in the oven fills your kitchen with an intoxicating, savory aroma that is a treat in itself. It's an instant mood-lifter and a sure sign that something delicious is on its way.
- Perfect for Any Occasion: Its robust nature means it travels well, stores beautifully, and makes a fantastic addition to almost any event. From a casual movie night to a sophisticated party appetizer, a big bowl of homemade Chex Mix is always a hit. It’s also an excellent choice for The Ultimate Chex Mix: Perfect for Parties & Road Trips.
Crafting Your Perfect Homemade Chex Mix: The Essential Ingredients
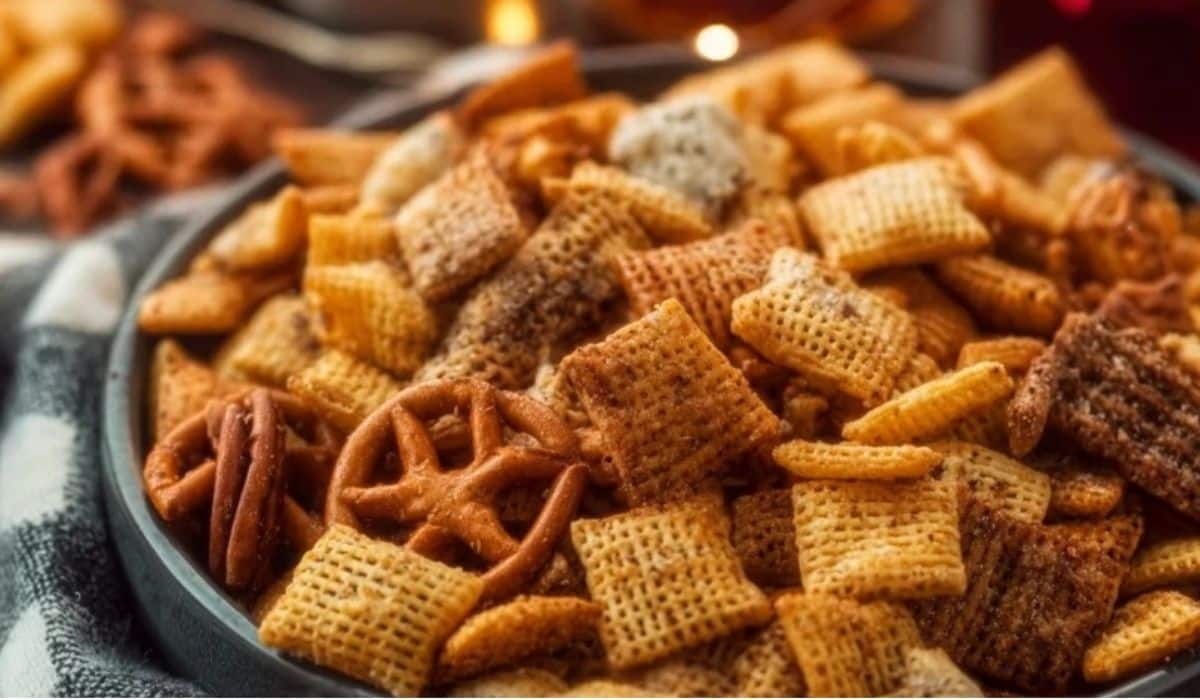
At its heart, classic homemade Chex Mix relies on a harmonious blend of cereals, crunchy additions, and a savory seasoning sauce. The beauty lies in the balance of textures and the depth of flavor that each component brings. Our base recipe yields a generous 15 cups, perfect for sharing or savoring over several days.
Ingredients You'll Need:
- Chex Cereals: A trio offers the best variety in texture and flavor.
- 3 cups Corn Chex (for a crisp, classic base)
- 3 cups Rice Chex (adds delicate crunch)
- 3 cups Honey Nut Chex (introduces a subtle sweetness that balances the savory)
- Crunchy Mix-Ins: These provide extra bite and interest.
- 3 cups pretzel sticks or mini twists (their saltiness and shape are ideal)
- 2 cups mixed nuts (almonds, peanuts, cashews – choose your favorites for rich flavor and healthy fats)
- Savory Seasoning Blend: The magic happens here!
- 1/2 cup butter (unsalted is fine, the salt comes from other ingredients)
- 3 tablespoons Worcestershire sauce (the quintessential umami booster)
- 1 tablespoon garlic salt (double duty: garlic flavor and salt)
- 1/2 teaspoon onion powder (adds another layer of savory depth)
- 1/4 teaspoon cayenne pepper (for a subtle, warming kick – adjust to taste!)
These ingredients form the backbone of an amazing batch, but remember, the world of homemade Chex Mix is ripe for experimentation. For even more ideas to elevate your snack and achieve next-level deliciousness, explore how to achieve Homemade Chex Mix: Better Flavor, Ultimate Crunch.
The Classic Crunch: Making Chex Mix in Your Oven
The traditional oven-baked method is a timeless favorite for a reason. It creates a deeply toasted, incredibly crunchy mix and fills your home with an irresistible aroma. While it takes a little longer, the result is well worth the wait.
Oven Method Instructions:
- Prepare Your Workspace: Preheat your oven to 250°F (120°C). Line two large baking sheets with parchment paper or foil for easy cleanup. This prevents sticking and helps ensure even cooking.
- Combine Dry Ingredients: In a very large bowl, gently mix together the Corn Chex, Rice Chex, Honey Nut Chex, pretzels, and mixed nuts. Ensure they are evenly distributed.
- Whip Up the Sauce: In a small, microwave-safe bowl or a saucepan, melt the butter. Once melted, whisk in the Worcestershire sauce, garlic salt, onion powder, and cayenne pepper until thoroughly combined.
- Coat and Toss: Pour the melted seasoning sauce evenly over the cereal mixture in the large bowl. Using a sturdy spatula or your hands (if slightly cooled), stir vigorously until every piece appears coated. This step is crucial for even flavor distribution.
- Spread and Bake: Divide the coated mixture evenly between your two prepared baking sheets, spreading it into a single layer. Avoid overcrowding, as this can lead to steaming instead of toasting.
- Bake to Perfection: Place the baking sheets in the preheated oven. Bake for a total of 45 minutes, stirring the mixture thoroughly every 15 minutes to ensure even toasting. If using two oven racks, rotate the pans each time you stir.
- Cool and Serve: Once baked, remove the Chex Mix from the oven and allow it to cool completely on the baking sheets. This cooling process is essential for achieving maximum crispness. Transfer to a serving bowl or airtight containers.
Speed and Convenience: Microwave Chex Mix in Minutes
Short on time or don't want to heat up your kitchen? The microwave method is your best friend for quick and easy homemade Chex Mix. It's surprisingly effective and delivers a delicious, crunchy result in a fraction of the time.
Microwave Method Instructions:
- Combine Dry Ingredients: In a large, microwave-safe bowl (one that's big enough to comfortably stir the entire batch), combine the Corn Chex, Rice Chex, Honey Nut Chex, pretzels, and mixed nuts.
- Prepare the Sauce: Melt the butter in a separate small microwave-safe bowl. Whisk in the Worcestershire sauce, garlic salt, onion powder, and cayenne pepper until well blended.
- Coat the Mixture: Pour the seasoned butter over the dry ingredients. Stir well, ensuring all the components are evenly coated.
- Microwave in Bursts: Place the bowl in the microwave. Cook on high power for 6 minutes, stopping and stirring the mixture thoroughly every 2 minutes. This frequent stirring is key to preventing hot spots and ensuring even cooking and crisping. Be attentive to prevent burning, especially towards the end.
- Cool and Enjoy: Carefully remove the hot bowl from the microwave. Spread the homemade Chex Mix onto a large baking sheet lined with parchment paper or foil to cool completely. Cooling on a flat surface helps release steam and maintain crunch. Once cool, it's ready to devour!
Customization and Storage Tips for Your Homemade Chex Mix
One of the true joys of making homemade Chex Mix is the endless potential for personalization. Don't be afraid to experiment!
- Mix-In Variations: Beyond the classic pretzels and nuts, consider adding bagel chips, rye chips, pita chips, oyster crackers, cheerios, goldfish crackers, or even dried fruit (though this changes the texture and shelf life). Seeds like pumpkin or sunflower seeds also make great additions.
- Spice it Up (or Down!): Adjust the cayenne pepper for more or less heat. For different flavor profiles, try adding a pinch of smoked paprika, chili powder, dill weed, dried rosemary, or even a dash of liquid smoke for a barbecue flavor.
- Sweet & Savory Twist: For a unique take, lightly drizzle some maple syrup or brown sugar over the mixture during the last few minutes of baking for a delightful sweet-and-savory coating.
- Storing Your Creation: Once completely cooled, homemade Chex Mix should be stored in an airtight container at room temperature. It will stay fresh and crunchy for up to 2 weeks. For longer storage, you can even freeze portions in freezer bags for several months; simply let it thaw at room temperature before serving.
- Serving Suggestions: Beyond being an amazing stand-alone snack, use your Chex Mix as a crunchy topping for salads, a savory addition to soup, or even as a unique "breading" for chicken tenders. The possibilities are truly endless when you have a delicious batch of this versatile snack on hand.
Conclusion
Making homemade Chex Mix is a culinary adventure that promises big rewards for minimal effort. Whether you opt for the classic oven-baked method for that deep, toasted flavor or choose the microwave for a lightning-fast snack, you're guaranteed a delicious, crunchy, and utterly satisfying treat. The ability to customize ingredients and seasonings means every batch can be uniquely yours, ensuring it's always "better than the original." So, gather your ingredients, choose your method, and get ready to enjoy one of life's simple, savory pleasures right from your own kitchen!
